In our previous post we created a very basic Android app which displayed a static text to user. In this post we are going to add some functionality to that app so user can interact with the app because staring at a static text gets boring really quickly so let's get to it then.
There are various user events that you can capture in your application like 'tap/click', 'long click', 'drag' and there are different ways you can capture these events. We'll focus entirely on 'click/tap' event which occurs whenever user taps any UI element on the screen.
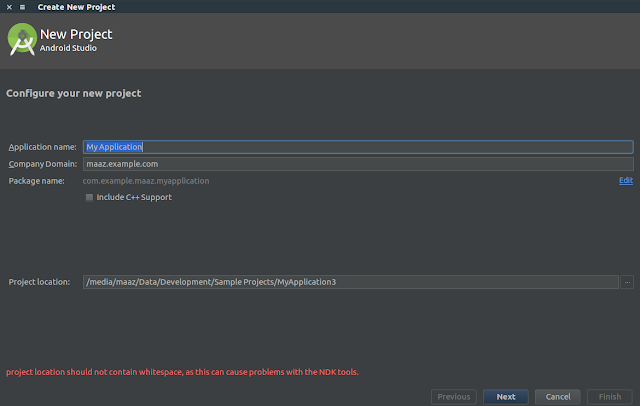
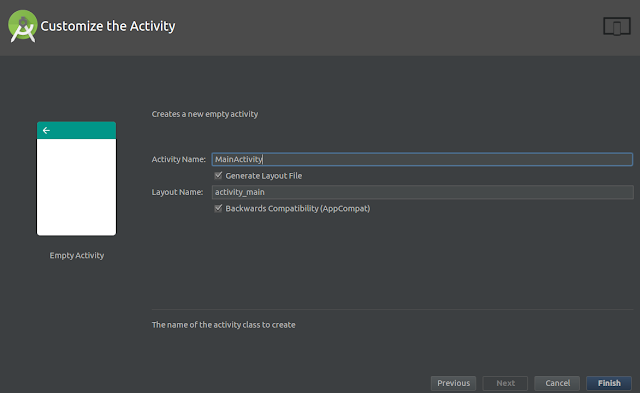
To get started create a new project in Android Studio or use the project that you created in last tutorial.
To capture the event we first need some UI element on the screen so open activity_main.xml located in res/layout/ and switch to 'Design' view. Between the project explorer and designer view you have palette. There are various UI widgets you can drag & drop onto the designer view. For now find 'Button' and drag & drop it to the screen anywhere you like.
Click the button which should open it's Properties window on far right side of the screen. Find and change it's 'text' property to whatever you like. This is the text that'll be displayed on the button. Also change the ID property to 'my_button'.
If you have a 'hello world' text on screen click on it to bring up it's properties otherwise drag & drop a new 'TextView' from palette to anywhere on screen. In properties window of TextView find and delete it's 'text' property. Next change it's ID property to 'my_text_view'.
Our UI part is complete now let's move to the code part. What we want to achieve is when user clicks the button we want to show some text on the label / TextView that we just placed on the screen.
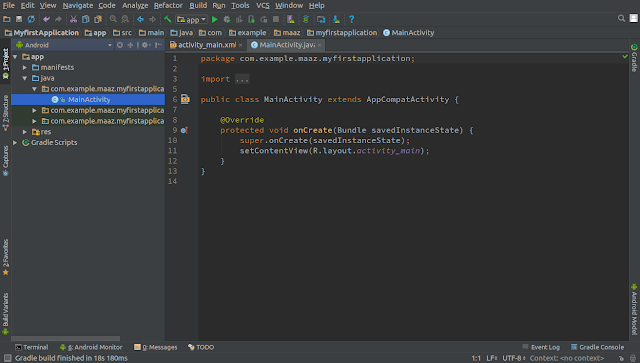
Open the Java file, it should be named 'MainActivity.java' if you accepted the default name when creating the project and it should be located in java/{package.name} inside your app module.
Below the onCreate(Bundle savedInstanceState) create a new method like this:
Now open the activity_main.xml file again and click on Button to bring up it's properties.
Find 'onClick' property and from drop down select the name of the method we just created.
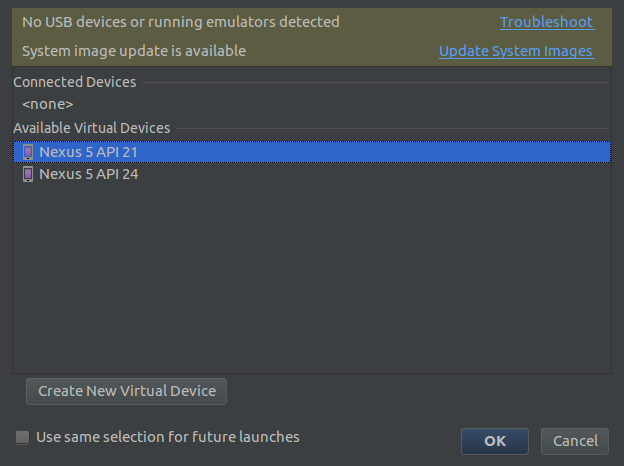
If you run your app you'll see a new log statement being printed everything you click the Button which means our event handler is working as expected.
Let's take a moment to understand what we did so far, first of all we placed two UI elements on screen, a Button and a TextView then we created a Java method in our MainAcitivty class to handle the click event of the button and finally we attached the event handler to our button by setting it's 'onClick' property in xml.
The event handler method itself needs to be declared as public and it's return type should be void and it accepts one argument of type View.
Note: If you don't see Android log window simply click the green Android mascot icon at bottom bar of the Android Studio window labeled 'Android Monitor' and it should be visible to you.
So when user clicks the button we print a log statement, we actually want to display that same text on screen instead of log window so we need to change our onMyButtonClick(View view) method to achieve this task.
Open MainActivity.java file and inside onMyButtonClick(View view) write following lines of code:
To change to text property of the TextView from Java code first we need to refer to the TextView object itselt. Every UI element that we place on screen using xml is a View and every class that extends from Activity base class has a method 'findViewById(int id)' which returns you the reference of the View object with given Id, this id is the same that we give to any view using xml.
Everytime you give an element an id Android Studio behind the scene create an int representation of that id which you can refer to using the R.id.name_of_id so in our case we call the findViewById() method and provide R.id.my_text_view as argument which refers to the id we gave to this particular element.
Another thing that's happening on the first line of code is the type casting of the returned View from findViewById method to TextView type. Because findViewById returns a View object we have to explicitly cast it to TextView.
You might be wondering why didn't they created findTextViewById() method in the first place? Well if they did then they'd have to write a method for each type of view like findButtonById(), findCheckBoxById() and so on...Instead there's just one method and you can type cast the returned View to whatever you like.
On the second line of the code we simply call setText() method on label object and give it an argument of type String. Calling this method actually displays the desired text on the label.
Open activity_main.xml and click Button element in the designer and delete its onClick property.
Open MainActivity.java and inside onCreate(Bundle savedInstanceState) write following lines of code:
Copy everything inside our previous method onMyButtonClick() and paste it inside onClick(View view) and delete 'onMyButtonClick()' method, so MainActivity.java looks like this.
Run the app again and you should see the same behaviour as before. Let's go through what's going on in this method.
First of all you should know that onCreate is automatically called when your activity is launched. First call inside the onCreate is the call to super class and after that a function call 'setContentView(int layout)' this method call is what links our xml file to this Activity. This is how this activity knows that it needs to display whatever is in the activity_main.xml file.
After that we get a reference to the button object we placed in the xml file and then we call setOnClickListener() and give it an object of View.OnClickListener which is an interface declared in View class.
By doing this the function 'onClick' gets executed whenever this particular button is clicked. Rest of the code inside onClick is same as before.
There is another way to hanlde the same event by having your Activity to implement the View.OnClickListener interface and handling the events in overridden method 'OnClick(View view)' but we are not going to do that in this post, maybe some other time.
If you have any problem post it in the comments section and I'll be glad to help. If you think I can improve these tutorials in any way please let me know in comments or email me at qijaz221@gmail.com.
Thank you for reading, stay tuned for more.
Related Articles:
There are various user events that you can capture in your application like 'tap/click', 'long click', 'drag' and there are different ways you can capture these events. We'll focus entirely on 'click/tap' event which occurs whenever user taps any UI element on the screen.
To get started create a new project in Android Studio or use the project that you created in last tutorial.
To capture the event we first need some UI element on the screen so open activity_main.xml located in res/layout/ and switch to 'Design' view. Between the project explorer and designer view you have palette. There are various UI widgets you can drag & drop onto the designer view. For now find 'Button' and drag & drop it to the screen anywhere you like.
Click the button which should open it's Properties window on far right side of the screen. Find and change it's 'text' property to whatever you like. This is the text that'll be displayed on the button. Also change the ID property to 'my_button'.
If you have a 'hello world' text on screen click on it to bring up it's properties otherwise drag & drop a new 'TextView' from palette to anywhere on screen. In properties window of TextView find and delete it's 'text' property. Next change it's ID property to 'my_text_view'.
Our UI part is complete now let's move to the code part. What we want to achieve is when user clicks the button we want to show some text on the label / TextView that we just placed on the screen.
1st Method: (XML Attribute)
Open the Java file, it should be named 'MainActivity.java' if you accepted the default name when creating the project and it should be located in java/{package.name} inside your app module.
Below the onCreate(Bundle savedInstanceState) create a new method like this:
public void onMyButtonClick(View view) {
    Log.i("onMyButtonClick", "Button is clicked");
}
Now open the activity_main.xml file again and click on Button to bring up it's properties.
Find 'onClick' property and from drop down select the name of the method we just created.
If you run your app you'll see a new log statement being printed everything you click the Button which means our event handler is working as expected.
What's going on?
Let's take a moment to understand what we did so far, first of all we placed two UI elements on screen, a Button and a TextView then we created a Java method in our MainAcitivty class to handle the click event of the button and finally we attached the event handler to our button by setting it's 'onClick' property in xml.The event handler method itself needs to be declared as public and it's return type should be void and it accepts one argument of type View.
Note: If you don't see Android log window simply click the green Android mascot icon at bottom bar of the Android Studio window labeled 'Android Monitor' and it should be visible to you.
So when user clicks the button we print a log statement, we actually want to display that same text on screen instead of log window so we need to change our onMyButtonClick(View view) method to achieve this task.
Open MainActivity.java file and inside onMyButtonClick(View view) write following lines of code:
public void onMyButtonClick(View view) {
     TextView label = (TextView) findViewById(R.id.my_text_view);
     label.setText("Button is clicked");
 }
To change to text property of the TextView from Java code first we need to refer to the TextView object itselt. Every UI element that we place on screen using xml is a View and every class that extends from Activity base class has a method 'findViewById(int id)' which returns you the reference of the View object with given Id, this id is the same that we give to any view using xml.
Everytime you give an element an id Android Studio behind the scene create an int representation of that id which you can refer to using the R.id.name_of_id so in our case we call the findViewById() method and provide R.id.my_text_view as argument which refers to the id we gave to this particular element.
Another thing that's happening on the first line of code is the type casting of the returned View from findViewById method to TextView type. Because findViewById returns a View object we have to explicitly cast it to TextView.
You might be wondering why didn't they created findTextViewById() method in the first place? Well if they did then they'd have to write a method for each type of view like findButtonById(), findCheckBoxById() and so on...Instead there's just one method and you can type cast the returned View to whatever you like.
On the second line of the code we simply call setText() method on label object and give it an argument of type String. Calling this method actually displays the desired text on the label.
2nd Method: (Anonymous Inner Class)
Open activity_main.xml and click Button element in the designer and delete its onClick property.
Open MainActivity.java and inside onCreate(Bundle savedInstanceState) write following lines of code:
Button button = (Button) findViewById(R.id.my_button);
button.setOnClickListener(new View.OnClickListener() {
    @Override    public void onClick(View view) {

    }
});
Copy everything inside our previous method onMyButtonClick() and paste it inside onClick(View view) and delete 'onMyButtonClick()' method, so MainActivity.java looks like this.
public class MainActivity extends AppCompatActivity {

    @Override    protected void onCreate(Bundle savedInstanceState) {
        super.onCreate(savedInstanceState);
        setContentView(R.layout.activity_main);

        Button button = (Button) findViewById(R.id.my_button);
        button.setOnClickListener(new View.OnClickListener() {
            @Override            public void onClick(View view) {
                TextView label = (TextView) findViewById(R.id.my_text_view);
                label.setText("Button is clicked");
            }
        });
    }
}
Run the app again and you should see the same behaviour as before. Let's go through what's going on in this method.
First of all you should know that onCreate is automatically called when your activity is launched. First call inside the onCreate is the call to super class and after that a function call 'setContentView(int layout)' this method call is what links our xml file to this Activity. This is how this activity knows that it needs to display whatever is in the activity_main.xml file.
After that we get a reference to the button object we placed in the xml file and then we call setOnClickListener() and give it an object of View.OnClickListener which is an interface declared in View class.
By doing this the function 'onClick' gets executed whenever this particular button is clicked. Rest of the code inside onClick is same as before.
There is another way to hanlde the same event by having your Activity to implement the View.OnClickListener interface and handling the events in overridden method 'OnClick(View view)' but we are not going to do that in this post, maybe some other time.
If you have any problem post it in the comments section and I'll be glad to help. If you think I can improve these tutorials in any way please let me know in comments or email me at qijaz221@gmail.com.
Thank you for reading, stay tuned for more.
Related Articles:

