Creating new project in android studio.
Let's start programming, Before you start you have to make sure that you have install Android studio properly as i explained in previous post, if every thing is good then ready to start.
Open Android Studio and create new project.
Open Android Studio and create new project.
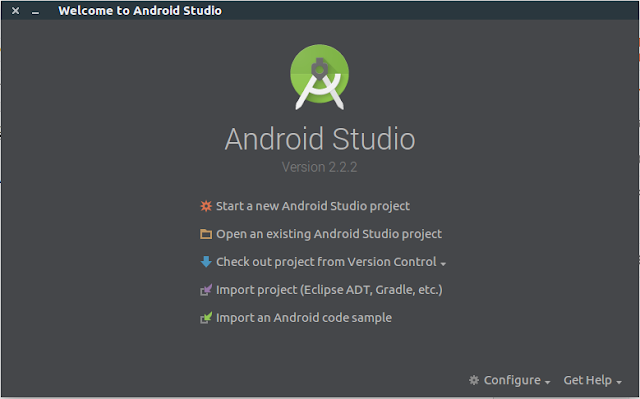
Step 1:
- Open Android studio.
- Click on Start a new Android Studio project.
Step 2:
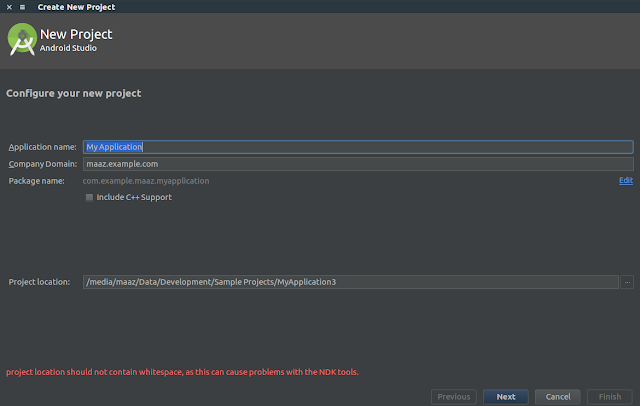


- Name your application.
- Choose a directory where you want to save your project.
- Click on Next.


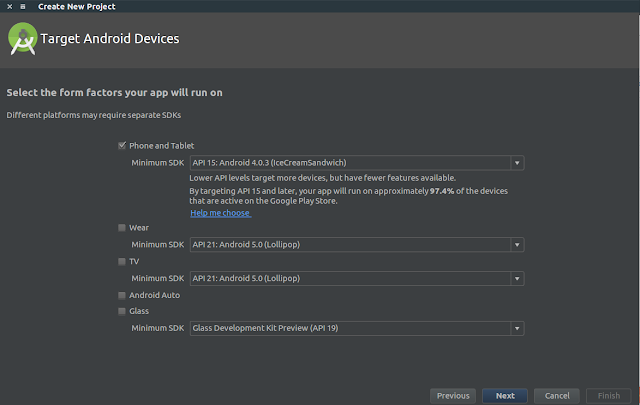
Step 3:
- Choose target android devices.
- Click on Next.
(Note. for now leave it all the option as they are and click Next)

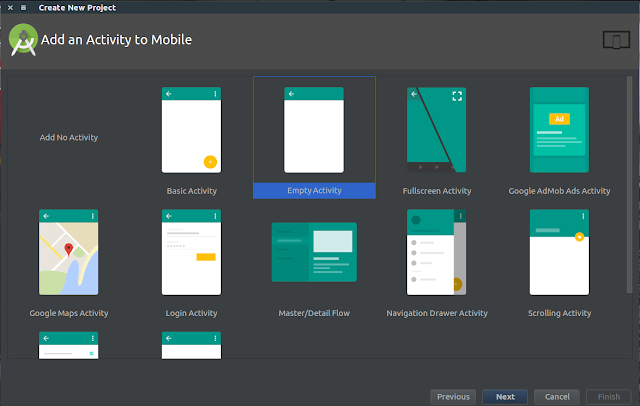
Step 4:
- Select Empty Activity.
- Click on Next.
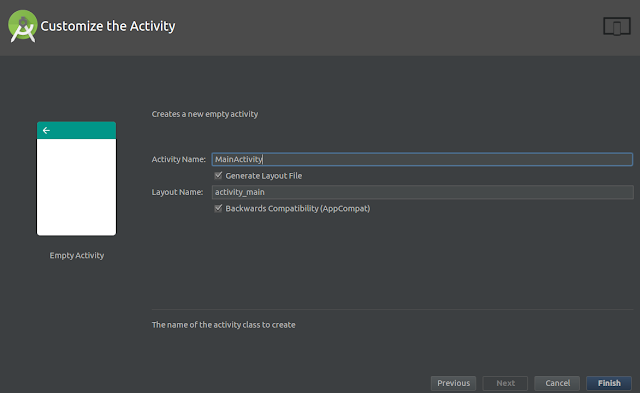
Step 5:
- Customize the Activity Screen shows up.
- Leave it as it is.
- Click on Finish.

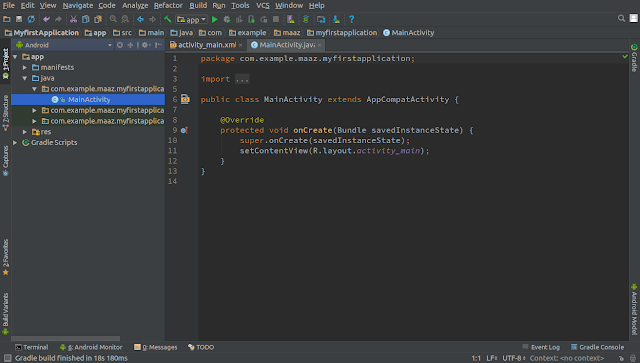
Step 6:
- Wait until Gradle Build Finished.
(Gradle Build Progress displays at bottom of the android studio window.)

Step 7:
- Run your application by clicking Run Button from Toolbar.

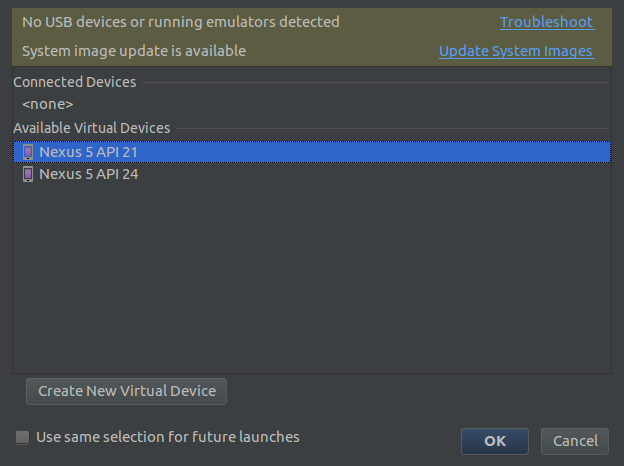
Step 8:
- Select your AVD and click Ok.
(Note if you don't have any AVD Devices created yet then click here and see How to Create AVD )

Now Android Virtual Device Shows up with running your first android application.

Congratulations, You have developed your first Android Application. Now just keep following rest of posts and become a android developer. If you have any queries, leave your message in comments section or you can email me. In next post you will add some controls in your application and write code for them.
No comments:
Post a Comment